How to Use Remote Desktop via CCProxy
1.1 Configure Port Map
Assume the IP address of the machine that needs to be controlled by remote desktop is 31.211.248.10.
1) On the main interface of CCProxy, click the "Options" button(Figure 1-1).
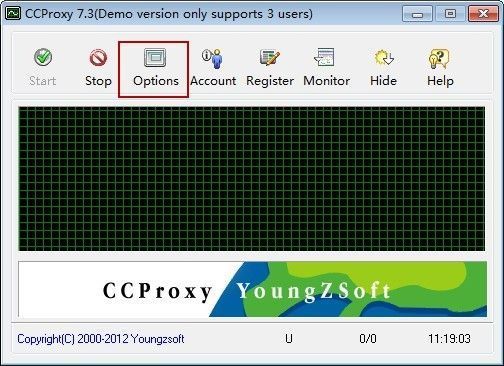
Figure 1‑1
2) On the popup "Configuration" dialogue box, select the "Port Map" check box, then click the "E" button(Figure 1-2).
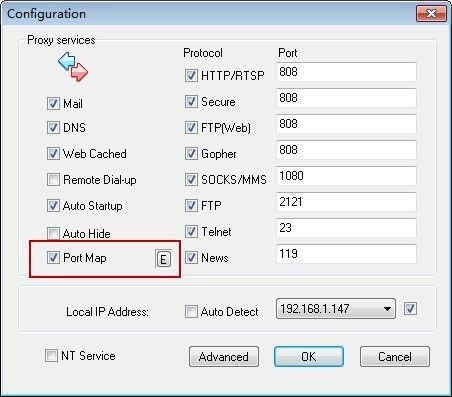
Figure 1‑2
3) The "Port Map" dialogue box will pop up.
In the "Dest Host" edit box, type the IP address of the machine that needs to be controlled by remote desktop, such as 31.211.248.10; in "Dest Port" and "Local Port" edit boxes type "3389", click "Port Type" combo box, select "TCP"; click the "Add" button, and then click the "OK" button(Figure 1-3).
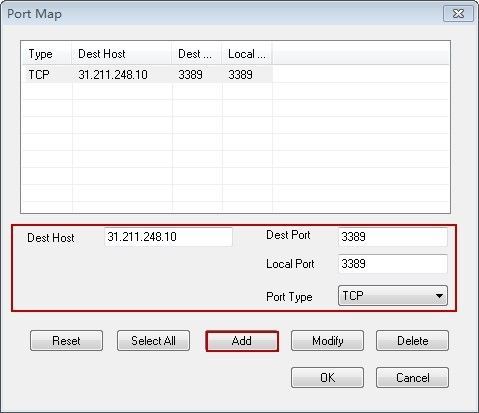
Figure 1‑3
1.2 Proxy Clients Configuration
Assume the IP address of the proxy server is 192.168.1.147, the account of the machine controlled by remote desktop is "Administrator", and the password is "1234567".
1) Click "Start", and then click "Run". In the popup "Run" dialogue box, type "mstsc", and then press the "Enter" key(Figure 1-4).
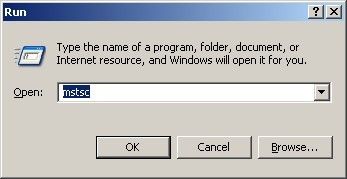
Figure 1‑4
2) In the popup "Remote Desktop Connection" dialogue box, type the proxy server's IP address, namely, 192.168.1.147, then click the "Connect" button(Figure 1-5).
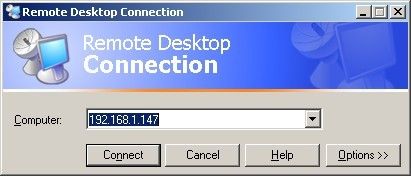
Figure 1‑5
3) Account Loggin dialogue box will pop up, type the account name and password of the machine which needs to be controlled by remote desktop, and then press the "Enter" key(Figure 1-6).
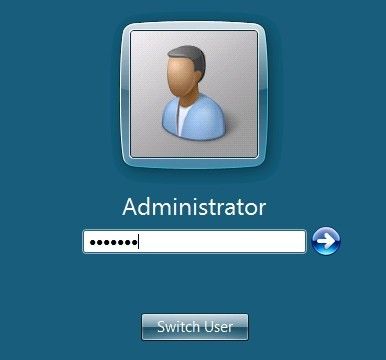
Figure 1‑6
4) After successfully configured the remote desktop, you can use remote desktop now(Figure 1-7).
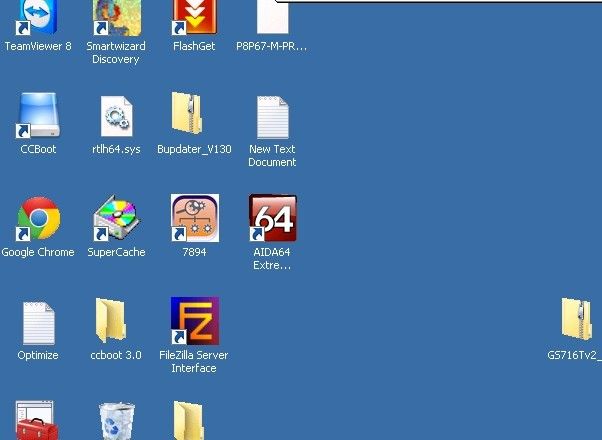
Figure 1‑7
Related: