How to Add Groups
1. As Group
1) On the main interface of CCProxy, click the "Account" button.
2) In the pop up "Account Manager" dialogue box, click the "New" button (Figure 1-1).
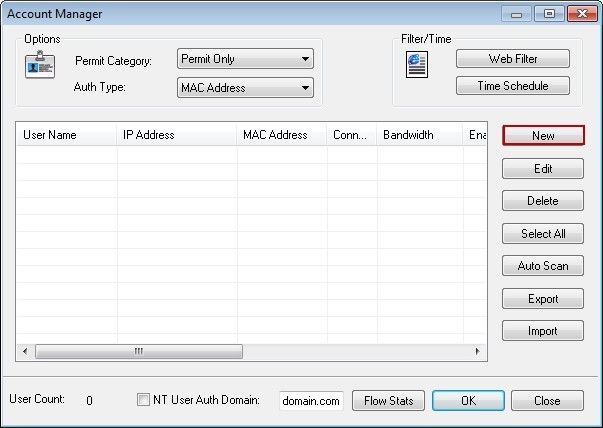
Figure 1‑1
3) The "Account" dialogue box will pop up. After select the "As Group" check box, type the name of the group in "User/Group Name" edit box, then click the "OK" button (Figure 1-2).
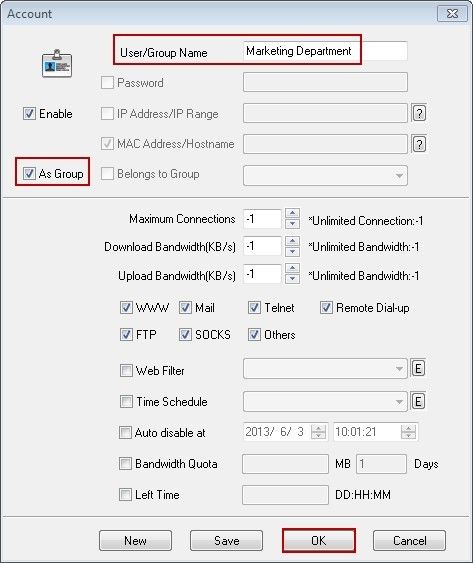
Figure 1‑2
Notes: You can configure bandwidth control, web filter and time management rules here to manage the accounts in this group.
2. Belongs to Group
1) In "Account Manager" dialogue box, double-click the account that needs to be added in the group "Marketing Department" (such as User-001).
2) The "Account" dialogue box. After select the "Belongs to Group" check box, click the combo box, select "Marketing Department", then click the "OK" button (Figure 1-3).
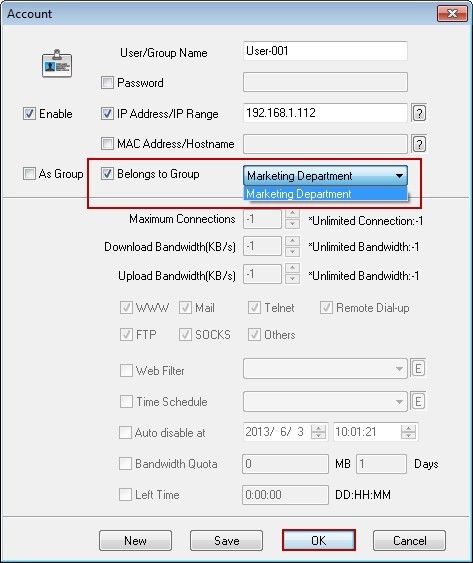
Figure 1‑3
Related: