How to Add Accounts
Assume the IP address of the client is 192.168.1.233.
The steps of adding accounts in CCProxy are as follows:
1) On CCProxy main interface, click the "Account" button (Figure 1-1).
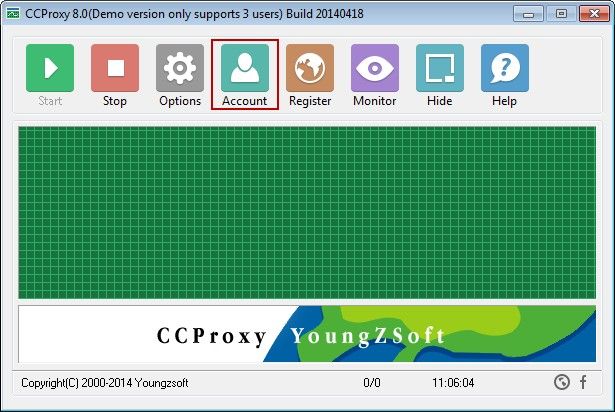
Figure 1‑1
2) The "Account Manager" dialogue box will pop up, click "Permit Category" combo box, select "Permit Only", then click the "New" button (Figure 1-2).
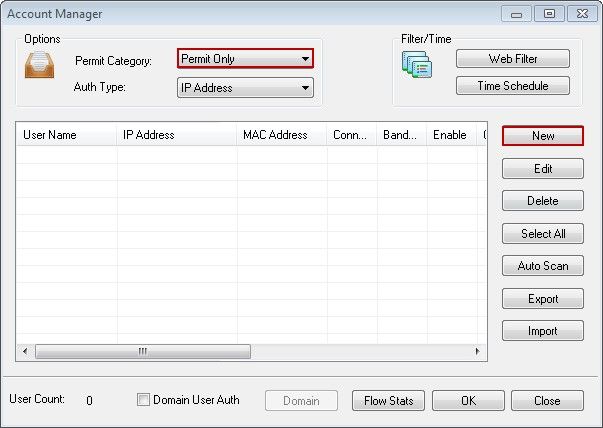
Figure 1‑2
3) In "Account" dialogue box, select "IP Address/IP Range" check box, and in the edit box type the IP address of the client (such as 192.168.1.233), then click the "OK" button (Figure 1-3).
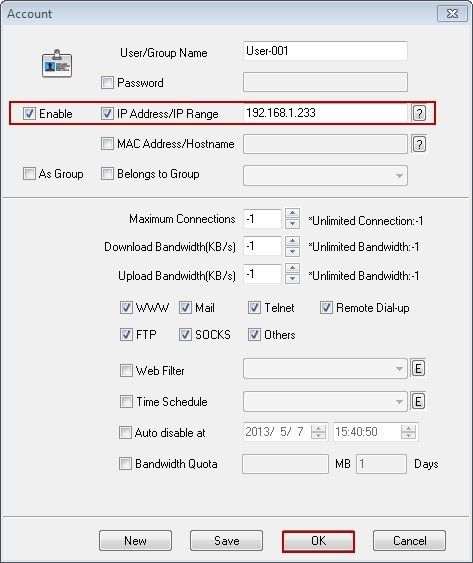
Figure 1-3
4) A new account has been successfully added. If you want to add more accounts, please redo the above steps.
Note: If you have too many accounts, you can type the IP range in "IP Address/IP Range" edit box (Such as 192.168.1.1-192.168.1.255), then click the "OK" button (Figure 1-4).
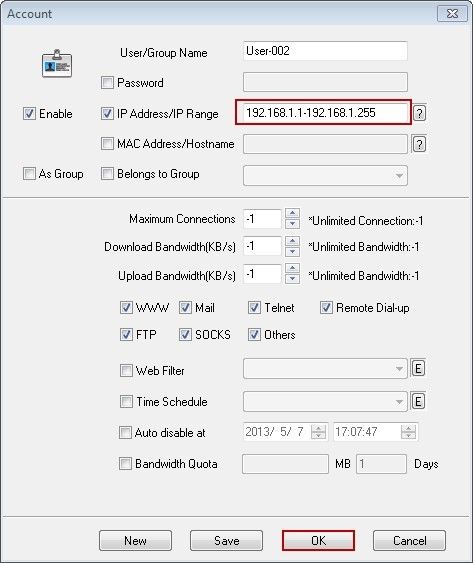
Figure 1-4
After configured like that, all the IP addresses in the IP range can access to the Internet through CCProxy.
Related: