Configuring Windows Live Mail
Note: Before you configure Outlook, please make sure that the "Auth Type" in CCProxy, Accounts windows is set to "IP Address" or "IP/MAC Address". If you have chosen, "User/Password" outlook will fail to connect to email servers.
1) Install Windows Live Mail on the Client PC, and then run the program.
2) In the "Accounts" menu, click the "Email" button (Figure 1-1).
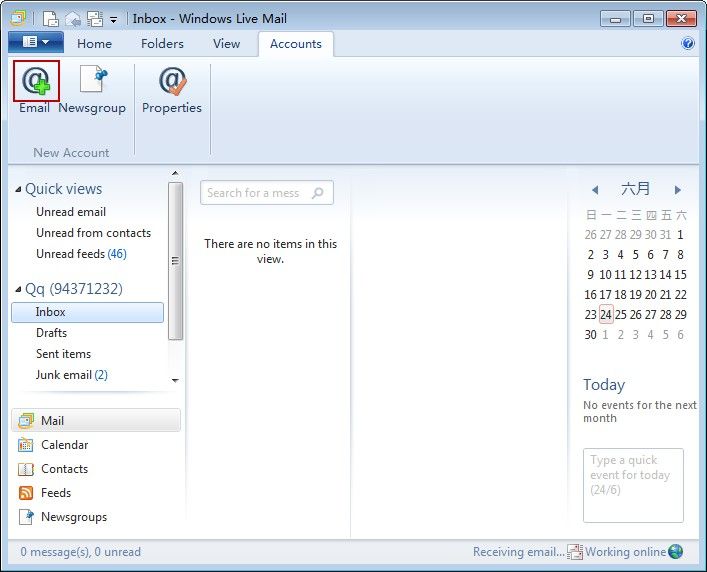
Figure 1-1
3) It will pop up the "Add your email accounts" dialog box, type your Email address, Password and Display name in their corresponding edit box, and then click the "Next" button (Figure 1-2).
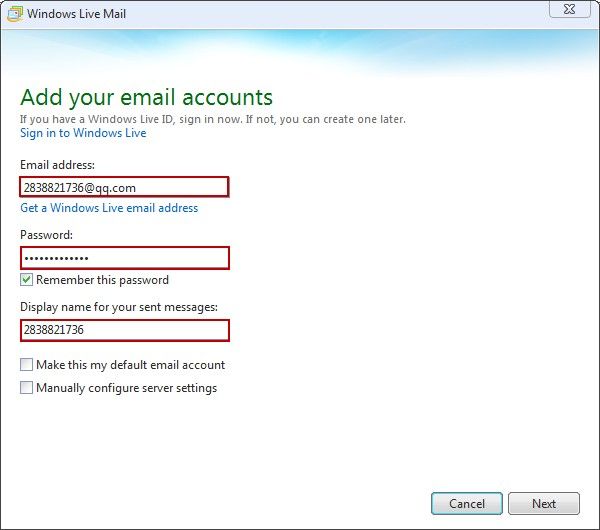
Figure 1-2
4) It will pop up the "Configure server settings" dialog box, in the "Incoming server information" column, type the server address and log-on username in their corresponding edit box, and in the "Outgoing server information" column, type the server address in the "Server address" edit box. Then, click the "Next" button (Figure 1-3).
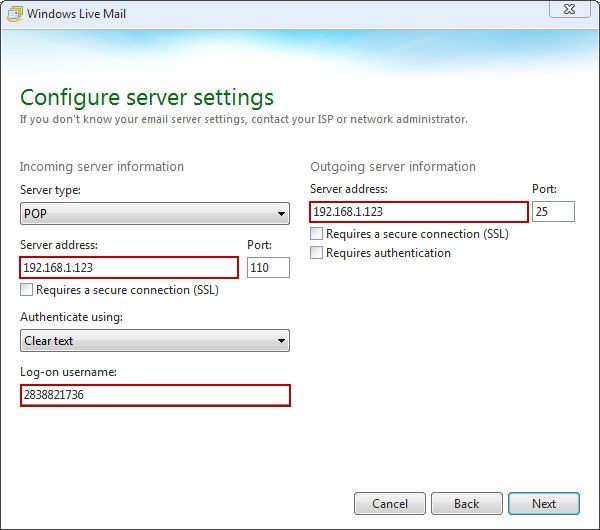
Figure 1-3
5) You will find that your email account has been added successfully (Figure 1-4).
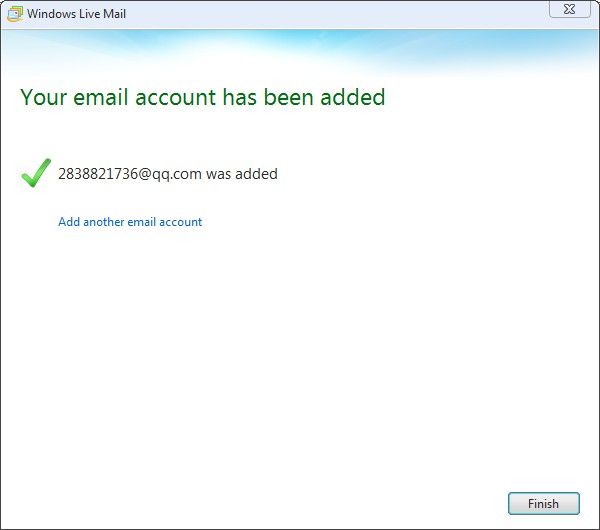
Figure 1-4
6) In the "Accounts" menu, click the new added account, and then click the "Properties". In the pop up "Properties" dialog box, click the "Servers" tab, and then type the Email username and Password in their corresponding edit box. Then, select the "My server requires authentication" check box, and click the "Settings" button (Figure 1-5).
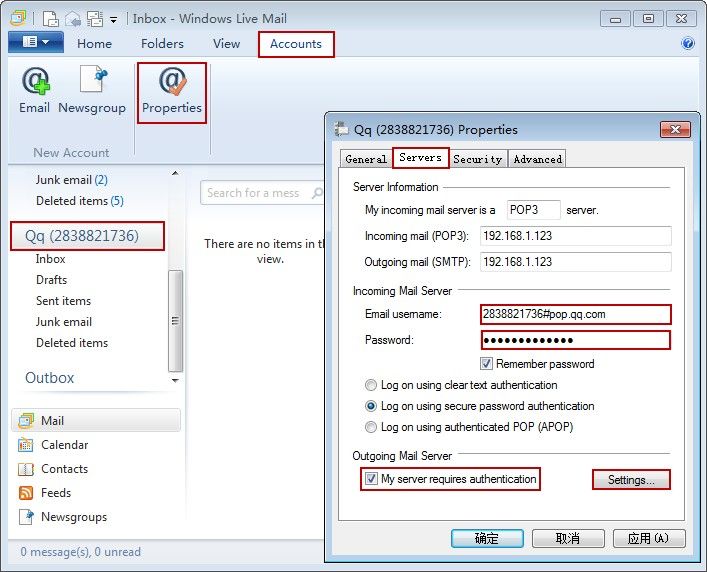
Figure 1-5
7) In the pop up "Outgoing Mail Server" dialog box, select the "Log on using" radio button, and type the Account name and Password in their corresponding edit box. Then, click the "OK" button (Figure 1-6).

Figure 1-6
8) In the "Home" menu, click the "Tools" button. Then, you will see that Windows Live Mail will automatically check for new messages on your email account successfully.
Related: