Introduction of Log
In the "Advanced" dialogue box, click the "Log" tab (Figure 1-1).
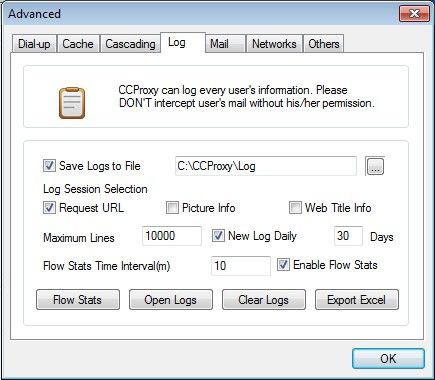
Figure 1‑1
Save Logs to File: You can define which file should be used for saving logs by yourself.
Log Session Selection: Select the log session that log would record, including request URL, picture information and web title information.
Maximum Lines: Configure the maximum lines of the recorded information in logs.
Note: If you set a limit in the Maximum lines then you may not see all the logs in the log file. So, set the limit to high number.
Days: You can define the days for saving logs.
Flow Stats Time Interval: In order to grasp the flow status of each client, you need to select "Enable Flow Stats" check box, and type the time of flow stats interval in "Flow Stats Time Interval" edit box (Figure 1-2).
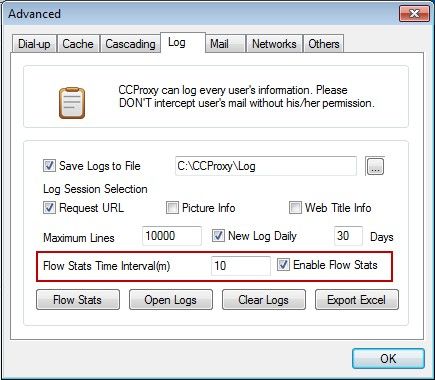
Figure 1‑2
Flow Stats: After clicking the "Flow Stats" button, the "Network Traffic Statistics" dialogue box will pop up, displaying the sending and receiving flow data of each client (Figure 1-3).
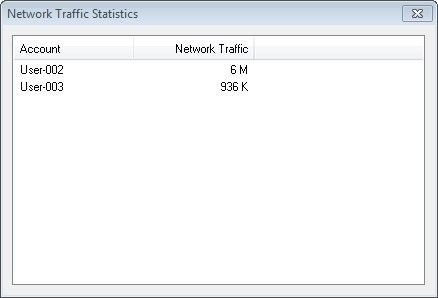
Figure 1‑3
Open Logs: Click the "Open Logs" button to open logs (Figure 1-4).
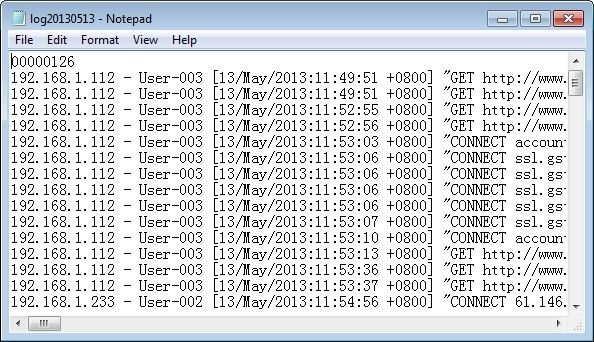
Figure 1‑4
Note: "GET" stands for the obtained data via HTTP.
"CONNECT" is for SSL access.
"POST" represents for submiting data to the website.
Clear Logs: After clicking the "Clear Logs" button, a dialogue box for confirming will pop up, then click the "Yes" button to clear logs (Figure 1-5).
Figure 1‑5
Export Excel: After clicking the "Export Excel" button, logs will be saved into the Log file (Figure 1-6).
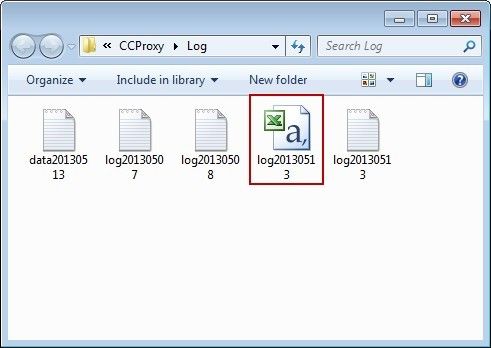
Figure 1‑6
Note: If you have set the value of Maximum lines in the "Log" tab, then CCProxy might not record all activities.
Thus to resolve this, set the Maximum Lines value to a high number. An example would be 1000000.
Related: