Make Proxy Settings in Office Outlook for Gmail
Note: Before you configure Outlook, please make sure that the "Auth Type" in CCProxy, Accounts windows is set to "IP Address" or "IP/MAC Address". If you have chosen, "User/Password" outlook will fail to connect to email servers.
Gmail is different from other email service. The POP3, IMAP and SMTP (Port 465) are using SSL connection and SMTP (Port 587) is using STARTTLS connection. On the other hand, there's no STARTTLS option in Outlook Express. So if you want to send emails via Port 587, you need to use MS Office Outlook 2007 or above version. If you have no MS Office Outlook 2007 or above version installed, you can also use Thunderbird.
Suppose the proxy server IP address is 192.168.1.250 and the Gmail address is youngzsoft@gmail.com.
Section 1 - Create port map rules in CCProxy
1. Open "Options" dialog box and click "E" button to open "Port Map" dialog box (Figure 1).
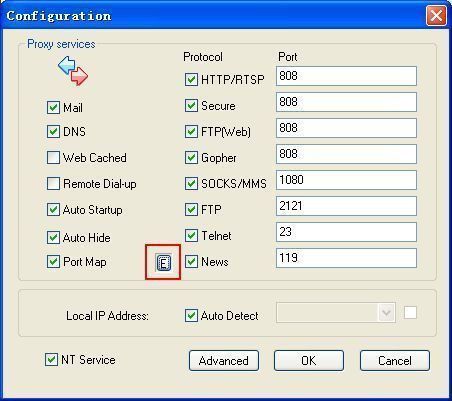
Figure 1
2. Add a port map rule for POP3 service of Gmail:
Fill "pop.gmail.com" in "Dest Host", "995" in "Dest Port", "995" in "Local Port" and select "TCP" in "Port Type", then click the "Add" button.
Add a port map rule for IMAP service of Gmail:
Fill "imap.gmail.com" in "Dest Host", "993" in "Dest Port", "993" in "Local Port" and select "TCP" in "Port Type", then click the "Add" button.
Add a port map rule for SMTP (Port 465) service of Gmail:
Fill "smtp.gmail.com" in "Dest Host", "465" in "Dest Port", "465" in "Local Port" and select "TCP" in "Port Type", then click the "Add" button.
Add a port map rule for SMTP (Port 587) service of Gmail:
Fill "smtp.gmail.com" in "Dest Host", "587" in "Dest Port", "587" in "Local Port" and select "TCP" in "Port Type", then click the "Add" button (Figure 2).
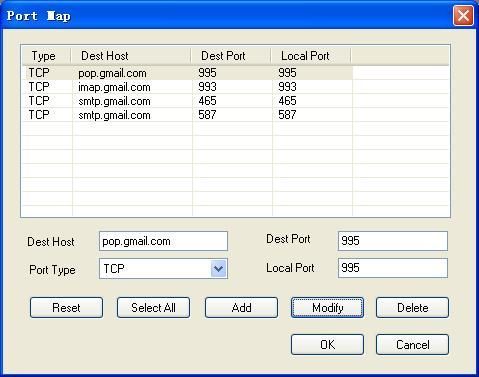
Figure 2
3. Keep clicking "OK" button to save above settings.
Section 2 - Make proxy settings in MS Office Outlook 2007 for Gmail
1. "Tools" -> "Account Settings" to open "Account Settings" window as Figure 3.
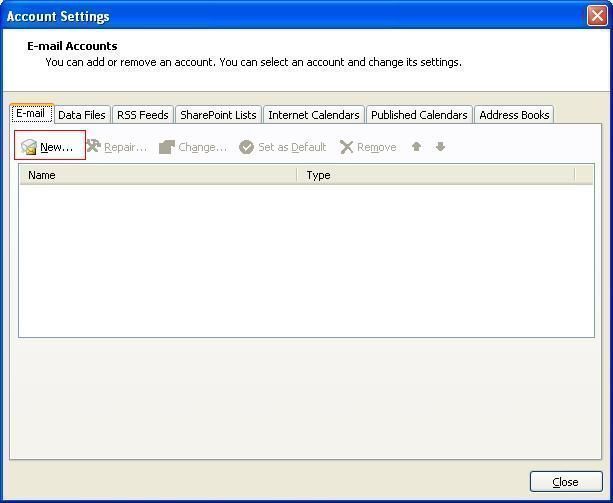
Figure 3
2. Click the "New" button to open the "Add New E-mail Account" dialog box as Figure 4.
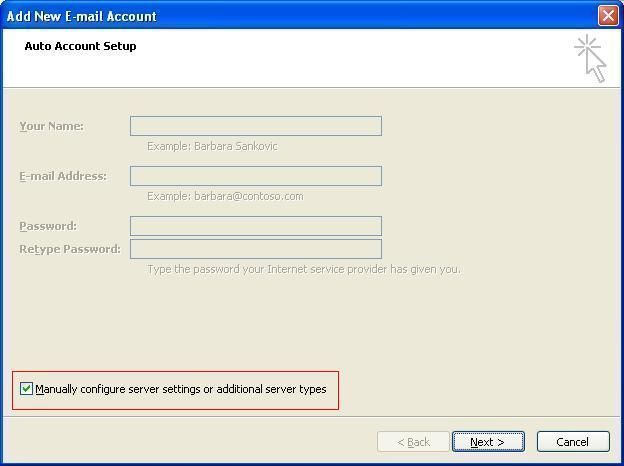
Figure 4
3. Click to select the "Manually configure server settings or additional server types" check box (Figure 4), then click "Next".
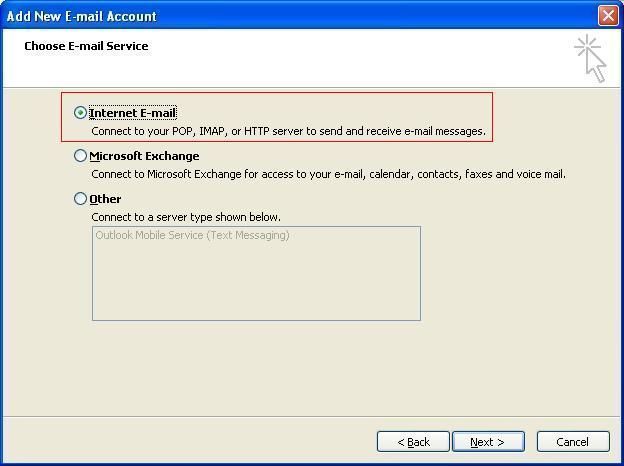
Figure 5
4. Click to select the "Internet E-mail" check box (Figure 5), then click "Next".
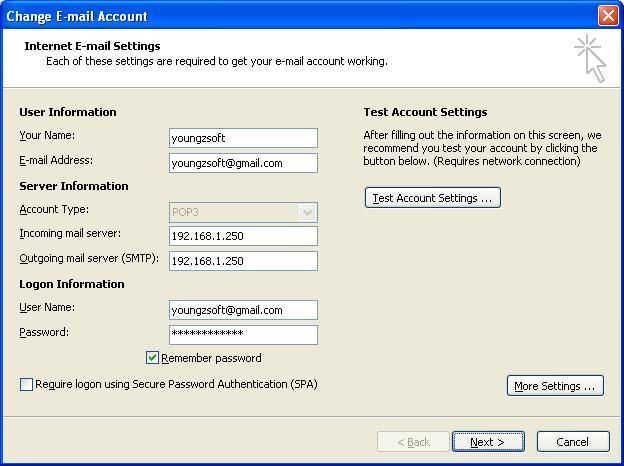
Figure 6
5. Configure as Figure 6.
6. Click "More Settings" button -> "Outgoing Server", then configure as Figure 7.
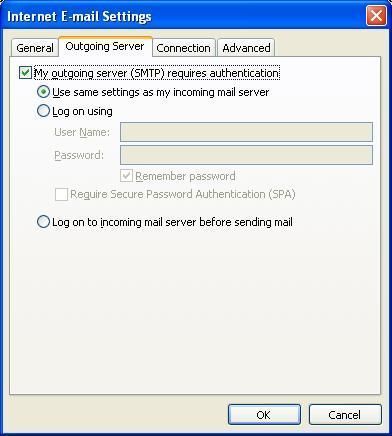
Figure 7
7. Click "Advanced" and configure as Figure 8.
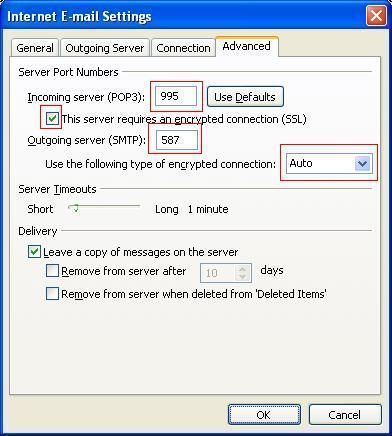
Figure 8
8. In the "Internet E-mail Settings" dialog box (Figure 8), click "OK" to save settings and back to dialog box as Figure 6. Then click "Next" to finish.
Figure 9
Related: